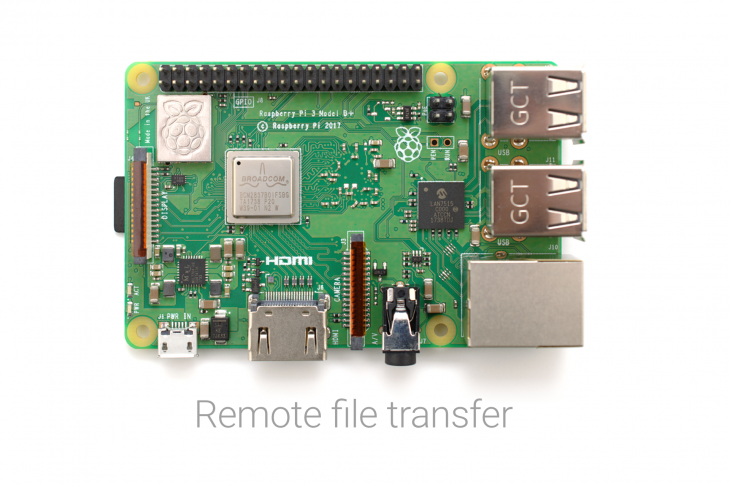
Instead of transferring captured images from the Pi using a USB stick it’s far more efficient to remotely transfer them over a network connection.
First, make sure your Pi and the computer you want to transfer the files to (the local computer) are connected to the same network. Most mobile phones have a ‘Mobile Hotspot’ function that allows other devices to use the phone’s internet connection. This can be a useful way of connecting both the Pi and the local computer to the same network without having to deal with the security limitations of some networks (like a University network) that don’t tend to allow IoT devices like the Pi to connect.
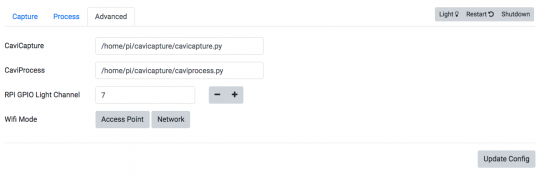
If you have installed CaviCapture version 2 and the new CaviConsole then you have an option under the ‘Advanced’ section to enable ‘Access Point’ WiFi mode. This will configure the Pi to run its own network that you can connect to.
Once the Access Point mode is enabled and Pi has been rebooted you’ll find the Pi listed as a wireless network on the local computer. More information about using the Pi as a wireless access point can be found at the CaviConsole github repo.
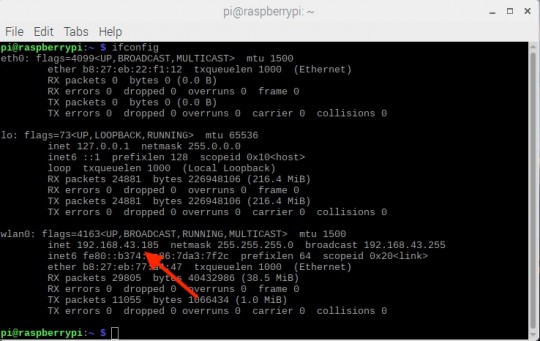
With the Pi and the local computer are connected to the same network, open up the Terminal on the Pi and enter the ‘ifconfig’ command to find the Pi’s IP address. The IP address will be under the ‘wlan0’ section if the network connection is over WiFi, or under the ‘eth0’ section if connected using an ethernet cable.
Windows users
If you want to transfer the files to a computer with Windows, the best utility we’ve found so far is Acrosync. Just enter the Pi’s IP address in the Server option and the username ‘pi’ and whatever password you’ve got the pi user setup as. The default is ‘raspberry’ (which you should change). Choose the remote directory that contains the images, and a local directory to transfer the files to, hit start and that’s it.
Mac or linux users
If you are a mac or linux user, the best program to use is Rsync. On a mac Rsync comes pre-installed, on linux you may need to install via your favourite package manager.
Open the terminal on the local computer and enter:
rsync -hvrPt pi@[ip address]:"[directory on pi]" [local directory]
e.g.
rsync -hvrPt pi@192.168.43.185:"/home/pi/captures" ~/
Enter the Pi password and the transfer should begin. Rsync has many options, type ‘man rsync’ in the terminal for the details.
Done!
If you haven’t already updated to the new version of CaviCapture and tried out the new GUI then head over to the CaviConsole repo on github for installation instructions and more information.